
Why Customizing Suite CRM is Essential for Your Business
Basic Configuration & Renaming Modules (The Admin Area Start)
Refining the User Interface with the Studio
Expanding Functionality Using the Module Builder
Automating Internal Processes with the Workflow Manager
Beyond the Admin Area: Advanced Open Source Customization
Want to get more out of SuiteAcademy?
Become a member and get access to:
- Workshops
- Courses
- Templates
- Monthly progress calls
Suite CRM is quite powerful out of the box and is generally adjusted to a standard sales and marketing process. Tailoring the system to your own unique business requirements is essential. Learn the major areas within the Admin interface that allow you to adjust the software to your familiar business processes and language.
- Start with basic configuration in the Admin area, including renaming modules.
- Use the Studio to refine the user interface and customize module layouts.
- Create entirely new structures or entities using the Module Builder.
- Automate complex internal processes using the Workflow Manager.
Why Customizing Suite CRM is Essential for Your Business
Are you tired of adapting your business processes to software? This should not happen, so the goal is to configure the software so it fits your business needs, requirements, and workflows.
The Suite CRM system out of the box is quite powerful and it is generally adjusted to a sales and marketing process. Since you have your own requirements and business processes, customizing the system makes everything more aligned. This allows you to use it in a more familiar way, fitting your business speech and dialect.
Basic Configuration & Renaming Modules (The Admin Area Start)
You usually start customization in the Admin area so you can apply the basic configuration settings.
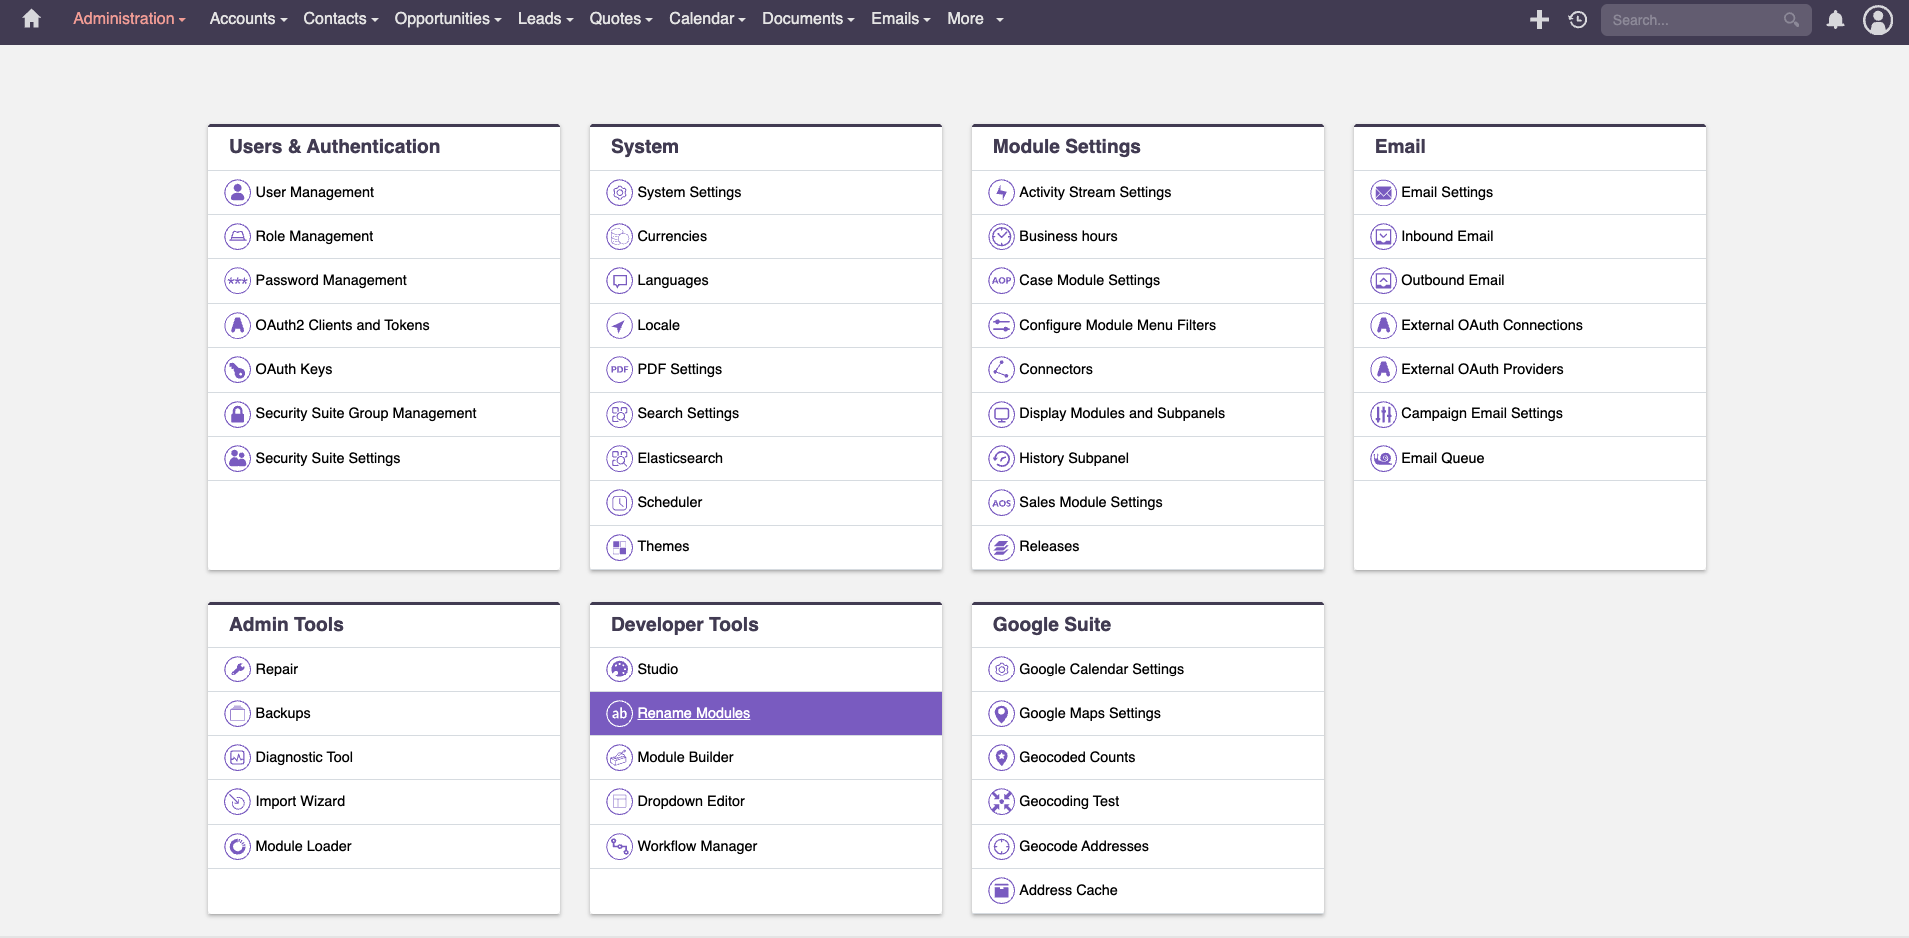
Aligning Terminology: How to Rename Core Modules
One recommended step is to go to Rename Modules. You can see modules like Accounts, Contacts, or Opportunities, and by clicking on "rename modules" you can easily customize these labels.
For instance, if you prefer calling Opportunities “Deals,” you can simply edit the label and rename it. You can do this for every module so everything aligns with your business processes.
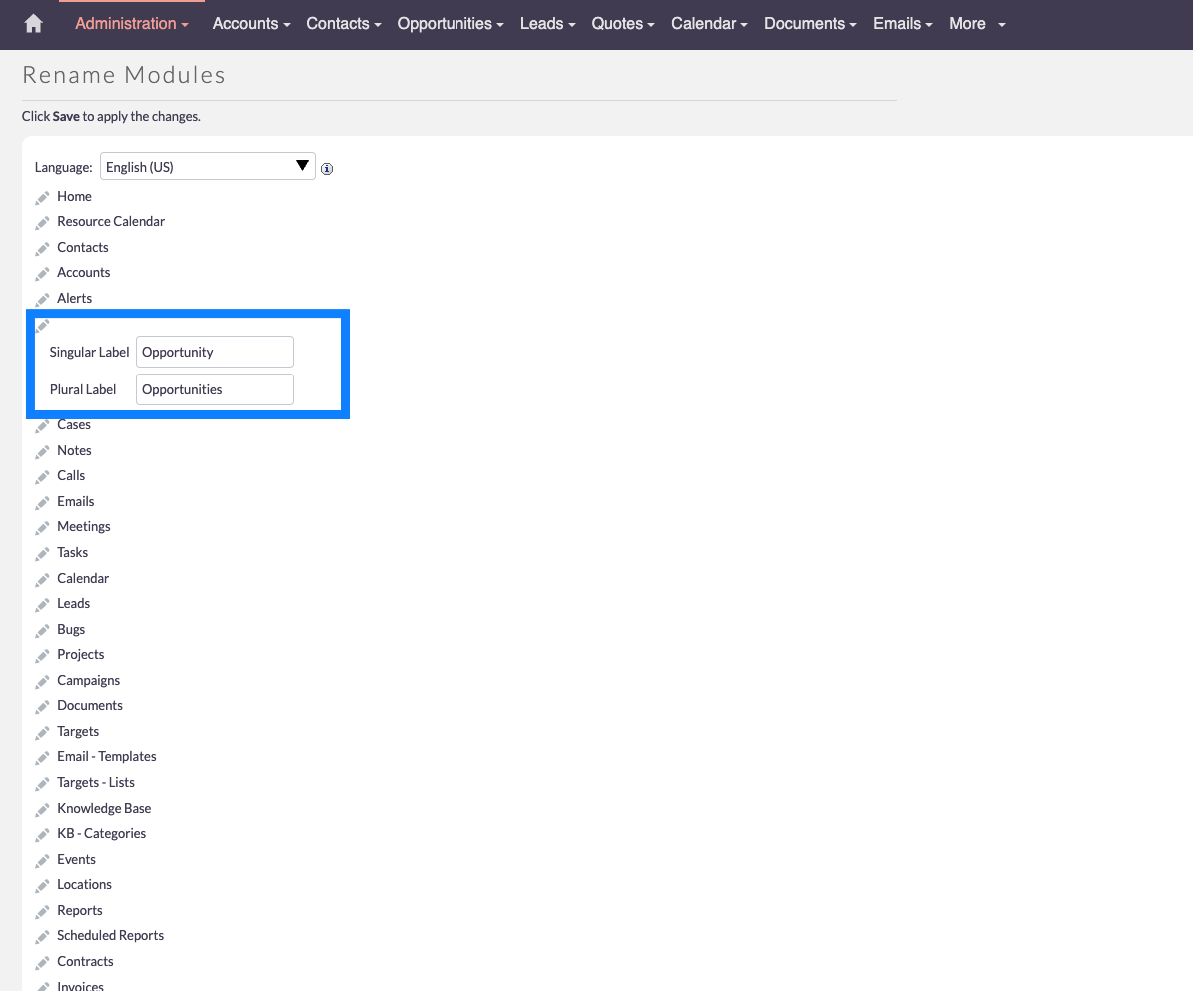
Refining the User Interface with the Studio
The next thing you will want to do is go one step further and customize the layout of modules and fields. The Studio is the next tool you should review closely inside the Admin area.
Optimizing Layouts: Hiding Unnecessary Fields
Inside the Studio, you can open a module such as Leads and check out its layouts. Every layout can be adjusted to your needs and requirements.
For example, the standard Lead view might show a Fax field. Most likely, you no longer need it, so removing it from the layout streamlines the interface. The field remains in the database and you enjoy a cleaner screen.
Customizing Panels, Labels, and Field Positions
The Studio enables extensive layout control. You can drag and drop everything around and build your panels exactly as you want. You can rename panels, perhaps calling them “Overview” or “More Information,” and you can translate field labels or reposition fields. The Studio gives you full control for these adjustments.
(Visual Suggestion: Screenshot 2: Studio interface showing field removal from a layout, demonstrating how the Fax field is deleted.)
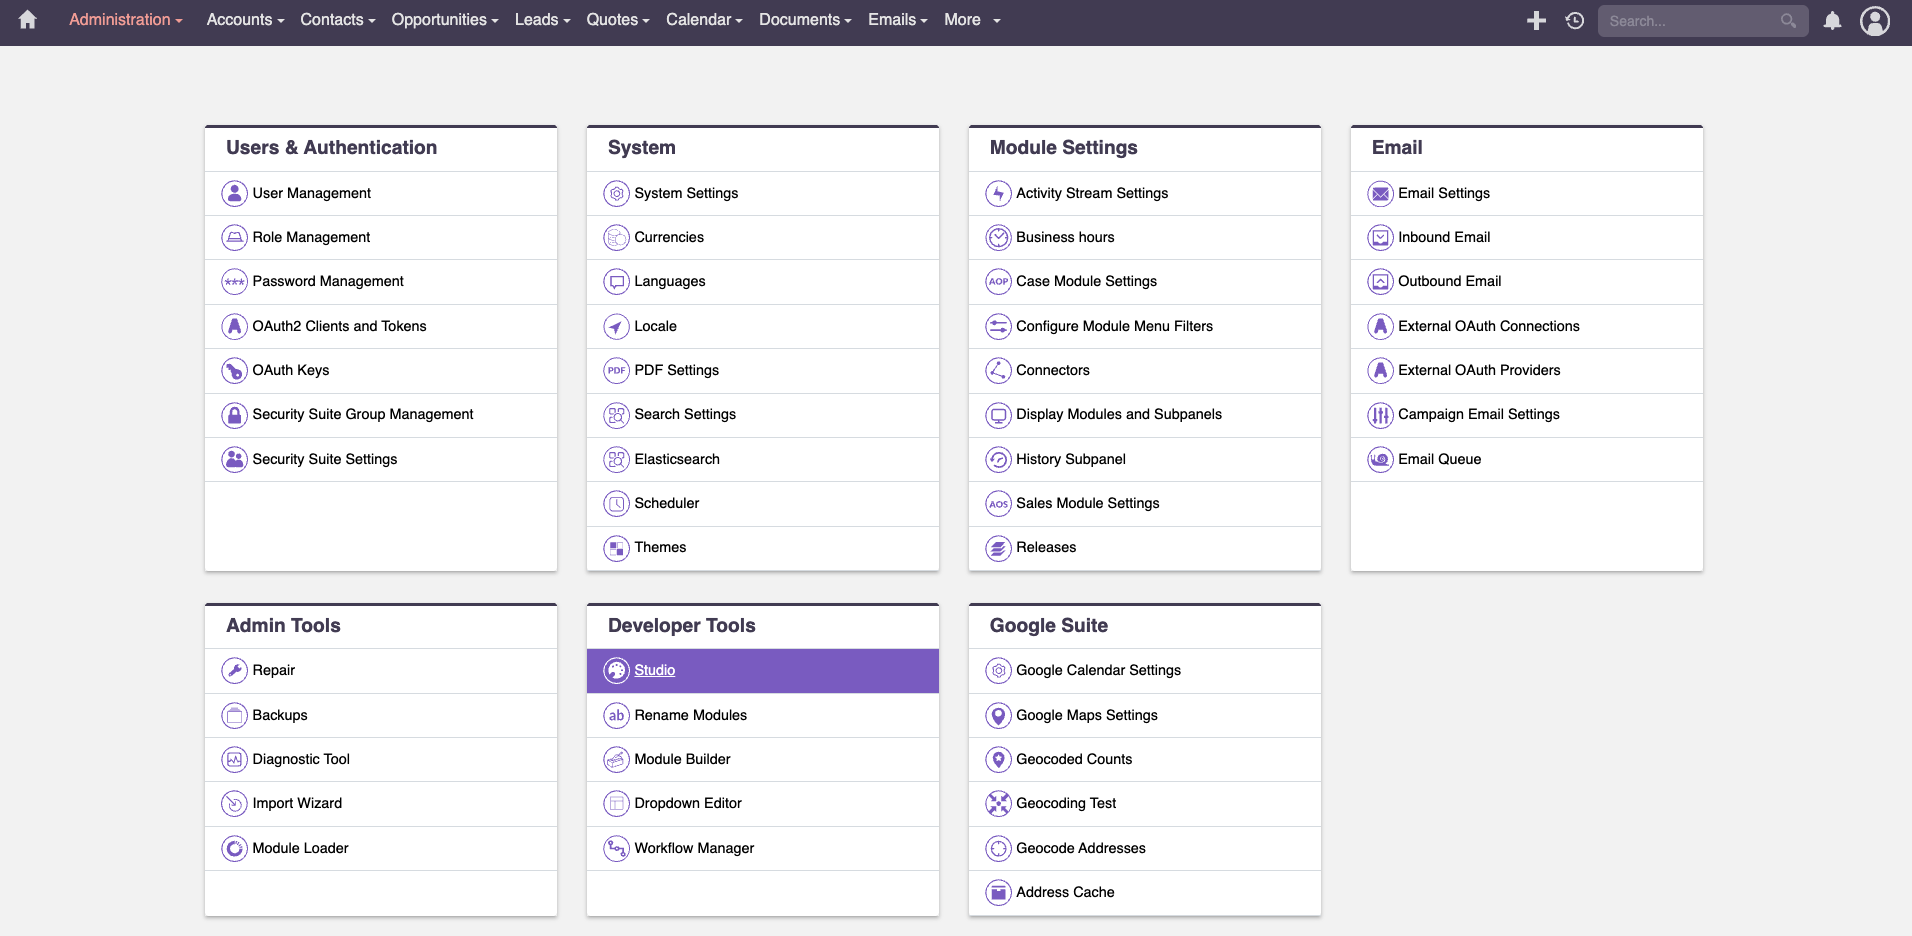
Expanding Functionality Using the Module Builder
The next level of customization involves working with the Module Builder, which is also located in the Admin area.
Creating Custom Modules for Unique Business Entities
You use the Module Builder when you need a custom module. This is helpful when your business processes include entities that the existing modules (such as Accounts, Contacts, Leads) cannot represent. These entities might include a domain, an enrollment list, or any other structure unique to your business needs.
You should explore this feature as soon as you notice that you want to store and manage details that do not fit into existing modules.
Building and Deploying New Structures
You build the new module yourself. You simply click on the Module Builder, create the module, and deploy it. Just like with the Studio, you can then create the layout for this new module so it perfectly fits your business.
(Visual Suggestion: Screenshot 3: Module Builder screen showing the steps to create and deploy a new custom module.)
Automating Internal Processes with the Workflow Manager
Once you have built up your structures, you may want to automate your processes. You can achieve this with the Workflow Manager.
Setting Up Triggered Processes and Background Automation
The Workflow Manager allows you to customize processes that run automatically in the background. These automations can be triggered by changing values or by clicking certain buttons. This gives you a powerful next level of customization for your business processes and structures.
Utilizing Roles and Permissions for Data Management
You can also explore other customization options in the Admin area. These include translating labels and managing visibility based on roles, security groups, and permission systems. This functionality is strong out of the box and supports precise data management.
(Visual Suggestion: Screenshot 4: Overview of the Workflow Manager screen for setting up automation triggers.)
Beyond the Admin Area: Advanced Open Source Customization
Much can be accomplished by clicking around in the Admin area, and Suite CRM is open source, so deeper customization is always possible.
Code-Level Changes: PHP Development and System Integrations
Since Suite CRM is open source, you can review and adjust the code. This empowers you to implement changes that extend beyond the Admin area’s tools.
This includes:
- Developing backend processes using PHP
- Performing integrations with other software systems
- Adjusting front-end UI structures so the system looks and behaves exactly as you prefer
There is plenty to explore, so you can continue adjusting the software according to your needs and requirements.
